Mini‑Split Guide for Your Detached Garage
Thinking about a mini‑split for your detached garage? Learn how to size it, where to place it, what power you’ll need, and how to budget the project.
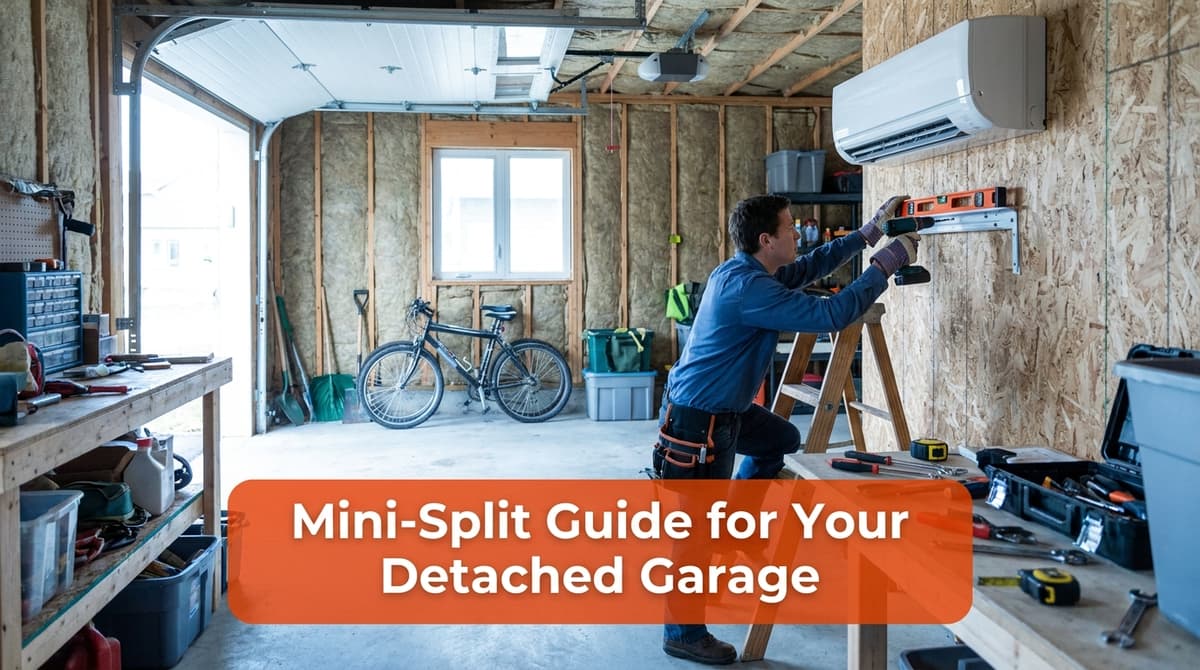
Helping a Homeowner Comfort a Detached Garage
We recently got a call from a homeowner — let’s call him Mark — who was looking for an estimate on installing a mini‑split in his detached garage. He’d done some research online, checked reviews, and decided a ductless mini‑split was probably the right answer, but he still had a lot of questions:
- What size mini‑split does a detached garage really need?
- Where should the indoor and outdoor units go?
- Does the electrical panel need to be upgraded?
- How much should he budget for the project?
When our service department calls someone like Mark back, these are exactly the things we walk through on the phone and during the on‑site estimate. If you’re thinking about conditioning a detached garage for a workshop, gym, or hobby space, here’s how we help homeowners choose and install the right mini‑split system.
Step 1: Sizing a Mini‑Split for a Detached Garage
Before we ever talk brands or models, we talk capacity. A garage mini‑split that’s too small will run constantly and never really catch up; a system that’s oversized will short‑cycle, waste energy, and feel uncomfortable.
Rough Sizing Guidelines
Every home is different, and we always do a proper load calculation on site, but here are very rough starting points for a detached garage:
- Single‑car garage (about 200–300 sq. ft.): 6,000–9,000 BTU
- Two‑car garage (about 400–600 sq. ft.): 9,000–18,000 BTU
- Larger workshop or 3‑car garage: 18,000–24,000+ BTU
With garages, the square footage is only part of the story. When we meet a homeowner like Mark, we ask questions such as:
- How well is the garage insulated? Bare studs and a thin garage door need more capacity than insulated walls and an insulated door.
- What’s the ceiling like? Tall or vaulted ceilings increase the volume of air that needs conditioning.
- How tight are the doors and windows? Gaps and older single‑pane windows let in a lot of heat and cold.
- How will you use the space? Occasional weekend use is different from running power tools, workout equipment, or a home office every day.
All of that feeds into the final BTU recommendation. The more information you can share with your contractor, the more accurately they can size the mini‑split.
Step 2: Choosing the Right Location for the Indoor Unit
Once we have a ballpark size, we look at placement. In a detached garage, you often have more flexibility than inside the home, but a few rules of thumb help the system perform better and last longer.
Best Practices for Indoor Head Placement
When we walk through a space with a homeowner, we’re looking for a spot that:
- Allows clear airflow: No shelving, cabinets, or tall equipment directly under or in front of the unit.
- Avoids direct sun: If possible, we keep it off walls that bake in afternoon sun, which can trick the unit’s thermostat.
- Is opposite the garage door: This helps push conditioned air across the room and back, reducing hot or cold zones.
- Leaves room for service: We need space to access filters and internal components for maintenance.
In many detached garages, the indoor unit ends up on the shared wall closest to the house or a side wall, mounted 6–8 feet off the floor. That height keeps it out of the way of vehicles and tools while still providing good air distribution.
Step 3: Placing the Outdoor Condenser
The outdoor unit is where we balance performance, longevity, and appearance. When someone like Mark asks, “Where will the outside part go?” here’s what we consider.
Key Considerations for the Outdoor Unit
- Short line set: The closer we can place the outdoor unit to the indoor head, the better for efficiency and cost. Shorter refrigerant lines mean less material and less chance for leaks.
- Stable mounting: We usually mount on a small concrete pad or a wall bracket to keep the unit level and above snow, leaves, and standing water.
- Clear airflow: The unit needs breathing room—typically at least 12–24 inches from walls or shrubs and clear space above.
- Noise and aesthetics: We avoid placing it under bedroom windows or in spots where sound or appearance might be a concern.
On a detached garage, the outdoor unit often sits on the back or side of the building, close to the indoor head. If there’s a convenient path to the electrical panel on the house, we’ll plan the location around that as well.
Step 4: Power and Electrical Requirements
One of Mark’s biggest questions was about power: “Will this work with my current electrical setup, or do I need upgrades?” That’s where our electrical experience really comes into play.
What Homeowners Should Know About Power
Every mini‑split has specific electrical requirements, but here are the basics:
- Dedicated circuit: Most mini‑splits need their own dedicated breaker in your panel.
- Voltage: Many garage‑sized units run on 240V, though smaller systems can be 120V. We match the unit to what your panel can safely provide.
- Panel capacity: During an estimate, we check whether your existing panel has space and capacity for a new circuit. If it’s borderline, we’ll discuss options up front.
- Code‑compliant disconnect: Electrical code requires a shutoff (disconnect) near the outdoor unit, which we include as part of the install.
Having an HVAC and electrical team under one roof makes this smoother. You don’t have to coordinate a separate electrician—we size, wire, and install everything as one project.
Step 5: Budgeting Your Mini‑Split Garage Project
Finally, we get to the question everyone asks once we’ve covered the technical side: “What is this going to cost me?” Mark was no different, and it’s a fair question.
Typical Cost Factors
We don’t quote prices over the phone because every detached garage is a little different, but here’s what drives the final number:
- System size and efficiency: Higher BTU and high‑efficiency inverter models cost more up front but can save on utilities.
- Line set length and routing: Longer, more complex runs add labor and materials.
- Electrical work: Simple panel tie‑ins are on the low end; panel upgrades or long runs increase cost.
- Mounting and carpentry: Wall brackets, concrete pads, and any needed wall repair or finish work are part of the package.
When we visit a detached garage, we walk through all of this on site so you’re not surprised later. The written estimate spells out equipment, labor, and any optional items so you can make an informed decision.
Getting Your Detached Garage Mini‑Split Right
If you’re where Mark was—researching companies online and wondering what’s involved—the next best step is an on‑site visit. A quick call lets us gather your basic information, then our service department schedules a time to:
- Measure and evaluate your detached garage
- Confirm system sizing and placement options
- Inspect your electrical panel and power path
- Provide a clear, written estimate and answer all your questions
A mini‑split can turn a detached garage from a sweltering or freezing storage area into a comfortable, usable space year‑round. With the right sizing, smart placement, proper power, and a clear understanding of costs, you’ll end up with a setup that works the way you expect—without surprises.