No Air From Vents But Outdoor AC Is Running: What Now?
Outdoor AC running, but no air from the vents? Learn the most common causes, safe DIY checks, what it likely means, and when it’s time to call an HVAC pro.
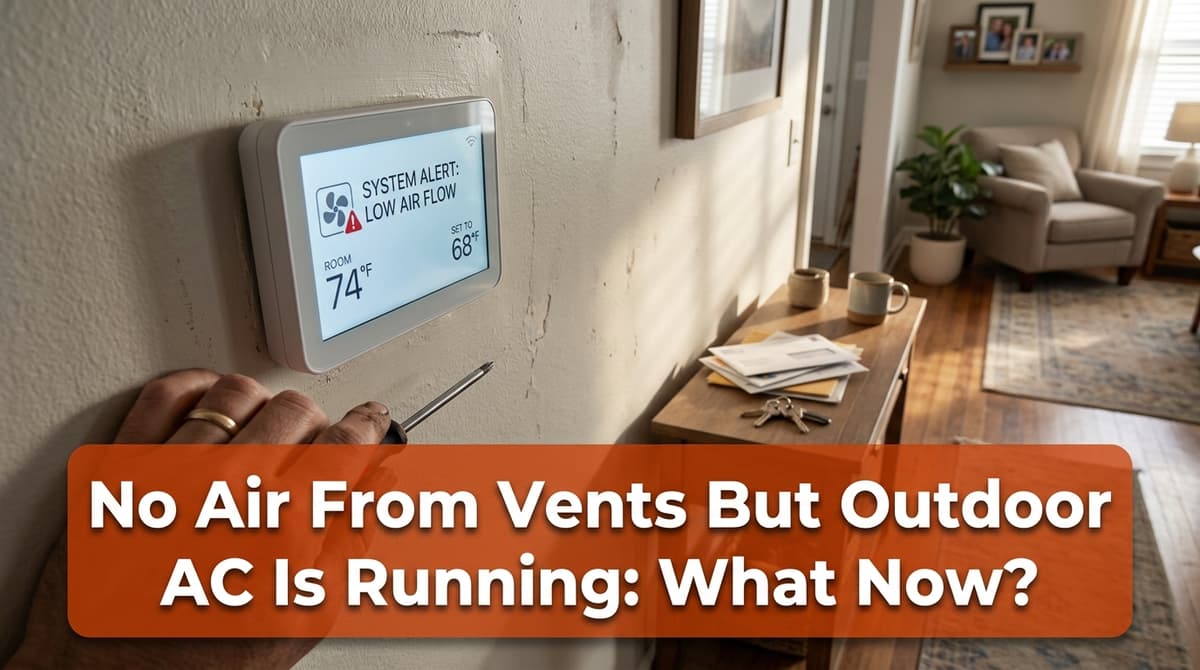
No Air From Vents, But the Outdoor AC Is Running
We recently got a call from a homeowner — let’s call him Mark — who was pretty confused about his AC. He told us, “I can see and hear the outdoor unit running just fine, but there’s no air at all coming out of the vents inside.”
Mark had already done some homework. He’d checked his air filter, looked for ice, even taken the panel off the indoor unit and noticed a quiet humming sound and an error code of zero on the control board. The system was only about four years old and still under parts warranty, but the house was getting warmer by the minute.
If that sounds familiar, you’re not alone. An outdoor AC unit running while no air blows from the vents is a common issue — and it usually points to a problem on the indoor side of your system.
Why the Outdoor Unit Can Run While No Air Blows Inside
Your central AC is really two main pieces working together:
- Outdoor unit (condenser): compressor and fan that move refrigerant and reject heat.
- Indoor unit (furnace or air handler): blower motor and coil that push cool air through your ducts.
In Mark’s case (and probably yours if you’re reading this), the outdoor unit kicked on normally, but the indoor blower never started. That’s why the house wasn’t getting any airflow, warm or cool.
Most of the time, that points to one of these problems on the indoor unit:
- Failed blower capacitor (very common)
- Blower motor failure
- Control board or relay issue
- Loose/burned wire or safety switch problem
- Severely frozen indoor coil blocking airflow
Simple DIY Checks Before You Call an HVAC Pro
When Mark called, we walked through a few basic checks over the phone. These are the same steps we recommend any homeowner try, as long as you can do them safely.
1. Check Thermostat Settings
It sounds obvious, but it’s worth confirming:
- Set the mode to Cool.
- Set the temperature at least 3–5°F below room temperature.
- Set the Fan to On (not Auto) as a test.
If the fan is set to On and you still don’t feel any air from any vents, that’s a strong sign of a blower problem, not just a cooling issue.
2. Inspect and Replace the Air Filter
Mark had already checked this, and his filter was clean and recently replaced. Still, for many homeowners, a clogged filter is the hidden culprit.
Pull the filter out and check:
- If it’s gray, packed with dust, or you can’t see light through it, replace it.
- Make sure it’s installed in the right direction (arrow pointing toward the furnace/air handler).
A badly plugged filter can cause the indoor coil to freeze and eventually choke off airflow.
3. Look for Ice or Frost on the Indoor Unit
We often ask customers, just like we did with Mark, to gently remove the lower panel (if you’re comfortable doing so) and look for:
- Ice on the refrigerant lines entering the coil cabinet
- Frost on the coil itself (if visible)
If you see ice, turn the cooling off at the thermostat and set the fan to On to help thaw it. Running a frozen system can damage the compressor. In Mark’s case, there was no ice, which helped narrow things down to the blower side: capacitor, motor, wiring, or controls.
What That Humming Sound Usually Means
Mark mentioned that when he pressed the little door switch on the furnace, he could hear a low humming from the indoor unit, but the blower never spun up. That detail is actually very helpful.
When we hear “it hums, but nothing moves,” two things jump to the top of our list:
- Blower capacitor failure – The capacitor is a small, inexpensive part that gives the motor an electrical “kick” to start.
- Blower motor seized or failing – The motor is getting power, but it’s unable to turn.
Sometimes a control board will still show a normal status (like Mark’s error code of zero) even when the capacitor or motor has failed. That’s why a visual inspection and electrical testing by a technician are so important.
When It’s Time to Stop DIY and Call an HVAC Pro
There’s a fine line between helpful DIY checks and things that really should be left to a trained tech. Here’s when we recommend picking up the phone:
- The outdoor unit runs, but you have no airflow at all from vents after checking thermostat and filter.
- You hear a hum from the furnace/air handler, but the blower never starts.
- The system repeatedly shuts off/on or trips breakers.
- You see burned wires, smell burning, or notice anything electrical that looks “off.”
In Mark’s case, he’d already done the right basic checks. From there, our technician needed to safely access the blower compartment, test the capacitor and motor with a meter, and verify control board outputs. That’s not something we recommend homeowners attempt, both for safety and to protect your warranty.
Costs, Warranties, and What to Expect From a Visit
Mark also had smart questions about cost and his manufacturer warranty. His system was still under a parts warranty, but the home was several years old and he wasn’t sure who installed it originally or what labor coverage (if any) remained.
Here’s how this typically breaks down:
- Diagnostic fee: A flat rate to send a technician out, inspect the system, and determine the problem.
- Common repair range: For parts like capacitors, contactors, or simple wiring repairs, ballpark pricing is often in the low hundreds, depending on the exact part and labor involved.
- Parts vs. labor warranty: Manufacturer warranties usually cover parts only. Labor — the time and expertise it takes to diagnose and install those parts — is typically a separate cost unless you purchased an extended labor warranty.
A good HVAC company should explain what’s covered, what isn’t, and give you clear options before doing any repair work.
How to Protect Your System Going Forward
Once we get a system like Mark’s back up and running, we like to help prevent a repeat of the problem. A few simple habits make a big difference:
- Change filters regularly (usually every 1–3 months, depending on filter type and household conditions).
- Schedule annual maintenance for both cooling and heating seasons so capacitors, motors, and electrical components can be tested before they fail on a hot day.
- Keep outdoor units clear of debris and vegetation so the system doesn’t have to work harder than it should.
If your outdoor AC is running but there’s no air coming from your vents, don’t panic — but don’t ignore it, either. Do the quick checks above, turn off the system if you suspect a serious issue, and then let a pro take it from there. That’s exactly what Mark did, and we were able to get his home comfortable again without replacing the entire system.